
Showing posts with label HappyLittleArt. Show all posts

Sunday, 2 May 2010

Turning a Tin into a cute little Gifty!!

By Colleen ~HappyLittleArt~

Hi Again!! Today I wanted to show you how to easily turn a tin into something a little bit more! =:O)

You'll Need:
a Tin, Sticky Tape, Glitter, Scrapbook paper, a small embellishment and Ribbon!

First: Run your Sticky Tape along the top rim of the tin:
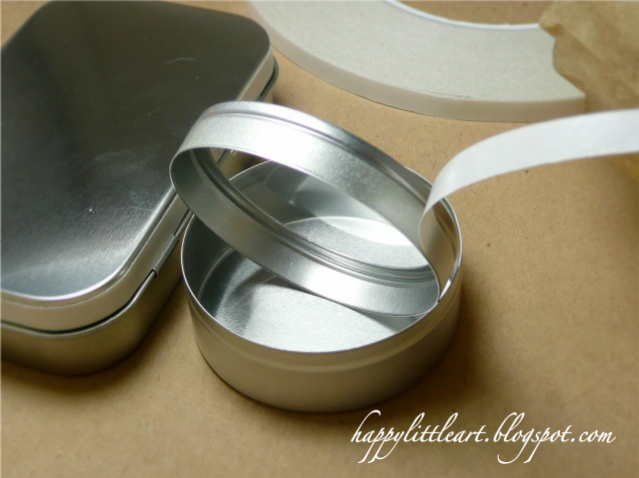
Then pour your glitter all over the Sticky Tape and brush off any extra!

Measure the space on the bottom half of the tin and cut a scrapbook strip of paper to fit all the way around. Using your Sticky tape again, adhere to the tin.

Now fill with something....I used M&Ms...but you could put anything in there...Jewelry, hair clips, a love note! Then tie a ribbon around it and put your small embellishment on top...Viola....a cute little dressed up tin...Perfect for gift giving!

Fun huh and easy!!! I hope you enjoyed this tutorial! You can pop over to my blog to see the exact supplies I used or just stop by to look around and say Hi!
Enjoy!
Colleen ~HappyLittleArt~

Saturday, 10 April 2010

Pretty Vintage Paper Flower Posies.....

By: Colleen ~HappyLittleArt~

Hi Everybody!!! I'm very excited to post here for the first time!!!

I'd like to show you how to make these vintage paper flower posies...


I'm sure you've seen these paper posies around but I wanted to show you how I make them! While they take a little time to create, they are so worth the effort!!

To start...get your supplies ready, you'll need: Glitter and a color spray in a complementary color, scallop punch, vintage paper or print, glue, brads, flower centers and leaves....after that...you're ready to go...

Start by punching out lots of scallops circles....you can use, sheet music, children's stories, dictionary pages...anything really...

Then spray your paper to give it a little color and sparkle and wait until dry!

Then put glue on the edges....I pierce mine and do several at a time....and spoon your yummy glitter over the glue!

Here is another look at the glue all glittered up....pretty huh?!

Then, stack 5 or more of your glittered circles on top of each other and stick a brad in the center....almost done.....

Now crumple each layer towards the center where the brad is...do each layer individually....

Finally, add your decorative centers and leaves, if you want them...and viola...pretty paper posies for your projects!! You can make them in different colors to match your project too!! Fun, Fun, Fun!

Here is a completed flower on my card....

I hope you like my first ever tutorial! Thanks for taking a peek! For a complete list of supplies that I used, you can hop over to my BLOG or just stop by to say Hi!
Have a great day!!
Hugs,
~HappyLittleArt~