
My name is Geta and I am a passionate quilter living in Romania. Unfortunately, here quilting is an unknown craft for most of the people.
Thank you, Julie, for giving me the chance to be a contributor here.
You can see a few quilting tutorials on my blog.
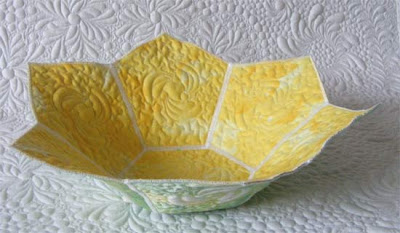
Now, I want to share with you a tutorial for a quilted bowl. This is my first attempt:

The bowl measures 13 inches from a point to the opposite point.
I used these templates:
 Download templates here (this is a "pdf" file; you will need Adobe Reader to open it- download it here - it is free).
After you print and cut the templates, check out that the bottom side of the "A" piece has the same size as the side of the hexagon .
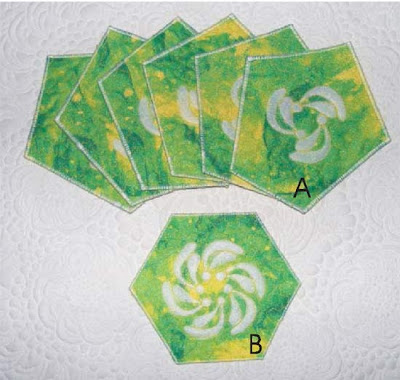
Make six "A" pieces and one "B" piece. I made these pieces from quilted fabric.
 Make a sandwich from a piece of fabric, batting and backing.
 Make a sandwich from a piece of fabric, batting and backing.
Iron a heavy weight fusible interfacing on the backing fabric to get stiff pieces.
Quilt the sandwich as desired.
 You can use appliques, trapunto, shadow trapunto or quilted motifs to embellish each piece.
 After the quilting is complete, cut the pieces and satin stitch around all edges.
Use a nice backing fabric because the back of the bowl will be visible.
 Use a wide zigzag stitch and be sure you catch the both edges. Backstitch at the beginning and the ending of each seam.
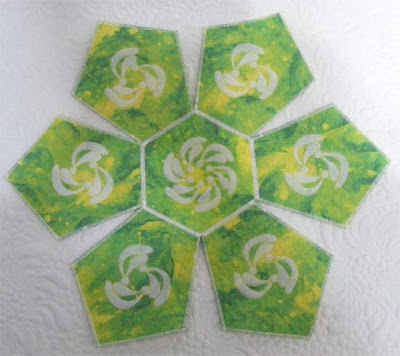
 This is how it looks after I stitched all the pieces around the hexagons:
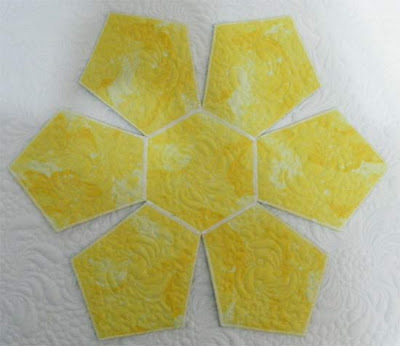
 The stitches on the back:
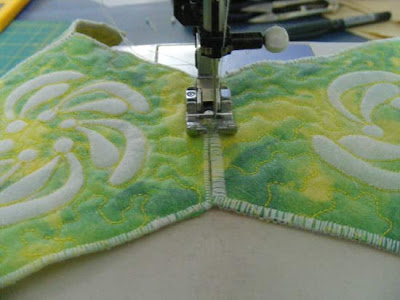
 Next, to form the bowl, you have to sew the sides between 2 pieces. Use a satin stitch or a close zig-zag stitch and make it wide enough to catch both sides. Start from the center, take a few stitches then backstitch. Continue to sew and pull the sides together as you sew, so they meet. Sew over them; it's very easy.
Do this for all the sides.
 After you completed all the stitches, you will have a bowl like this:

 The back of the bowl:
 And the funny part: the bowl is reversible !
Quilt the sandwich as desired.
 You can use appliques, trapunto, shadow trapunto or quilted motifs to embellish each piece.
 After the quilting is complete, cut the pieces and satin stitch around all edges.
Use a nice backing fabric because the back of the bowl will be visible.
Below is the front and the back of a piece:


Sew the bottom sides of the "A" panels to the sides of the "B" center piece, following this succession:
 Use a wide zigzag stitch and be sure you catch the both edges. Backstitch at the beginning and the ending of each seam.
 This is how it looks after I stitched all the pieces around the hexagons:
 The stitches on the back:
 Next, to form the bowl, you have to sew the sides between 2 pieces. Use a satin stitch or a close zig-zag stitch and make it wide enough to catch both sides. Start from the center, take a few stitches then backstitch. Continue to sew and pull the sides together as you sew, so they meet. Sew over them; it's very easy.
Do this for all the sides.
 After you completed all the stitches, you will have a bowl like this:
 The back of the bowl:
 And the funny part: the bowl is reversible !
 and you must have some distance between two "A" pieces :
 Happy sewing !


