
Well, aside from the hype, I had a chance to have a play with some this week and I do like it. It's not just pretty - it does have some uses so it will become a common part of my LO's from here on. Sometimes new stuff comes out and you "just gotta have it!" but it ends up being a big disappointment. This stuff is not, I'm here to tell you.
So what is it?
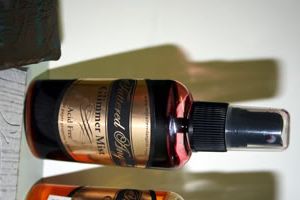
Glimmer Mist is a spray on ink/mist that has been mixed with a fine metallic sheen so that it creates a soft, pearly glow on your LO's or other surfaces.
Produced by Tattered Angels, it comes in a small bottle with a sprayer on top and retails for about $11.50. Pretty steep I think. But worth adding a bottle or two to your stash.
I am going to show you how to use Glimmer Mist and then I am going to let you in on a little secret - READ ON.
Step One:
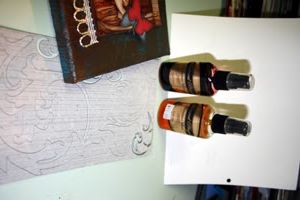
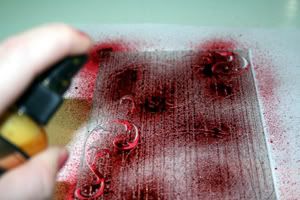
Glimmer Mist can be used on just about any absorbent surface. Wood, paper, card, chipboard and grungeboard. I am using grungeboard for today's tip.
You need everything set up in front of you. I am using two different Glimmer Mist colours so that the effect is more pronounced.
Step Two:
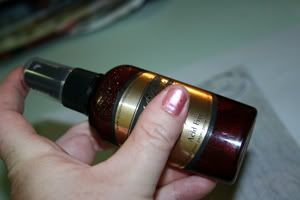
You need to SHAKE the STUFFING out of the bottle before you use it. The metallic stuff floats to the bottom and needs to be redistributed throughout the bottle before spraying.
Step Three:
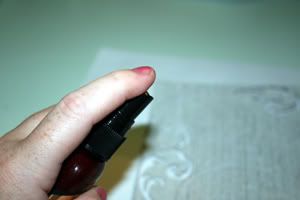
Make sure you hold your finger on top of the sprayer but BACK from the front edge. Otherwise the spray may end up all over your finger (hard to get off) and then produce big fat dribbles all over your page (this is BAD - grr).
Spray and even coat of the glimmer mist all over the grungeboard from about 15cm away. (Because I am using two colours I have left gaps between my sprays).
Step Four:
Spray the other colour on the grungeboard to fill in the gaps. You will end up with a wet surface - this is good. Be generous.
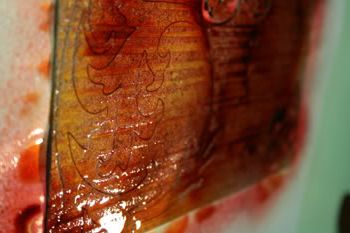
Leave mist and grungeboard to dry overnight and then seal with a coat of varnish or Mod Podge. Then use on your Lo's like normal.
Here's a sample for you to have a squiz at!

A note from Julie:~ Thank you so much Sarah !! Everybody go and check out Sarah Gladman's Blog HERE she is one talented lady. Sarah will be providing us with more techniques and tutorials in the future so keep checking back :)
1 comment:
Wow check out the hits on my Blog! Thanks for letting me a contributor to your wonderful site Julie.
Cheers,
Sarah xx
Post a Comment