
 I had made this card a few months ago and its time to share again, something that has helped inspire me. So here we go with a new tutorial and fresh inspiration.
You'll need a round scallop punch or scallop nesties will work too
2 shades of coloured card
tweezers or a large quilling type tool
 Now to create the rolled rose hold them together and cut a swirl leaving a small circle in the center...much like the cool swirly snakes you made in school that you hung up everywhere.
 To roll the rose i used a large needle with the eye cut off the top and glued into a wooden dowel ( i use this for quilling). Or you could use long nosed tweezers. Place this over the end tip and start to roll around


 Roll the whole length and take rose off the needle now let the rose spring open and glue the ends down when you're happy with the size and shape. You can also bend down some of the petals. When gluing to your card cover all the base with a strong glue and add your leaves, I also added some glitter to the petals. A very quick and simple way to do a rose.
 Well i hope you have enjoyed this tutorial and i can see this being used in many different cards using different size scallop circles. take care......pop over to my blog and see the new video tutorial http://valitasfreshfolds.blogspot.com/2009/07/my-first-online-video-tutorial-rolled.html
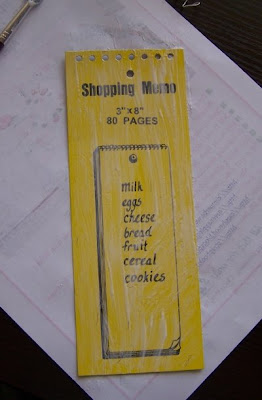
 1. Choose your notebook.
 2. Carefully take the wire ring out of it. Set it aside.
 4. Using a hole punch, punch the holes in the patterned paper using the notebook as a guide.
 5. Lay the cover over the rest of the notebook, aligning the holes Put the wire ring through the notebook again.


