Saturday, 29 May 2010

How I made my Tulips

By Monika , ** Creative with Monika **


Hi Everybody this is the first time I will post something in here.... I'm very very excited :)

Today I want to show you how I made my Tulips :

1. First Punch many of  EGG shape with  Egg Puncher . I used 2 different Collor of Yellow Paper on this Photo.


2. Cutted the Darkest color until nearly the end of the edge but dont cut it all please :) then put the cutted Egg on the other yellow Egg. I used the stick glue in here.


3. Then with fluid white glue, I did glue the Stem.


4. This is my Tulips with the stem, do it again for the next tulip :)


5. This is all Tulips I have made for my card :


6. This is the card I made with 2 different Tulips in Yellow and in Red:


You can hop over to my   Blog  if you like to see this card  or just stopping by and say Hallo :)


Thanks for looking my tutorial :)

Love,

Friday, 28 May 2010

Masking technique with Stamp-a-ma-jig

Hi Everyone!

Below is a video tutorial that shows how to mask your images using a Stamp-a-ma-jig.  I hope you enjoy it!

Here's my Blog.  I hope you'll stop by and take a look.

Angie Hunt

Coloring skin with Copic markers

Hi Everyone!

Below is a video tutorial that shows how I color skin with Copic markers.  I hope you enjoy it!

Here's my Blog.  I hope you'll stop by and take a look.

Angie Hunt

Coloring brown hair with Copic markers

Hi Everyone!

Below is a video tutorial that shows how I color brown hair with Copic markers.  I hope you enjoy it!

Here's my blog.  I hope you'll stop by and take a look.

Angie Hunt

Watercolor with distress ink

Hi Everyone!

Below is a video tutorial that shows how I use distress inks to watercolor my images.  I hope you enjoy it!

Here's my blog.  I hope you'll stop by and take a look

Angie Hunt

Sunday, 9 May 2010

Collage background

Hello, this is Cuchy.

I made a slide-video that shows how I create a collage background for my ATCs
Hope you find it useful.

If you like my work, you're invited to my blog. Thank you.

Sunday, 2 May 2010

Turning a Tin into a cute little Gifty!!

By Colleen ~HappyLittleArt~

Hi Again!! Today I wanted to show you how to easily turn a tin into something a little bit more! =:O)

You'll Need:
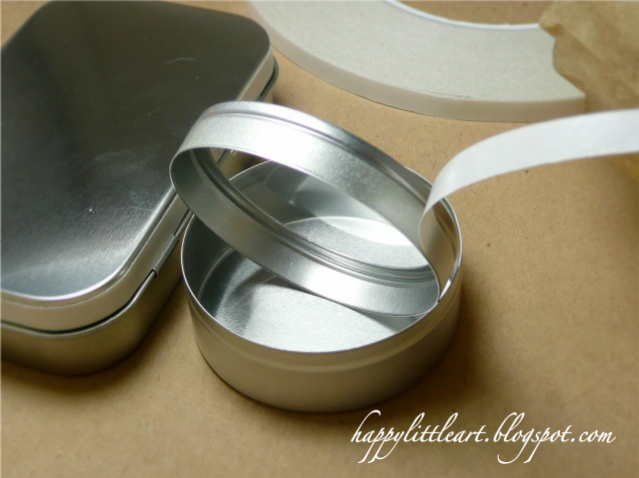
a Tin, Sticky Tape, Glitter, Scrapbook paper, a small embellishment and Ribbon!

First: Run your Sticky Tape along the top rim of the tin:

Then pour your glitter all over the Sticky Tape and brush off any extra!

Measure the space on the bottom half of the tin and cut a scrapbook strip of paper to fit all the way around. Using your Sticky tape again, adhere to the tin.

Now fill with something....I used M&Ms...but you could put anything in there...Jewelry, hair clips, a love note! Then tie a ribbon around it and put your small embellishment on top...Viola....a cute little dressed up tin...Perfect for gift giving!

Fun huh and easy!!! I hope you enjoyed this tutorial! You can pop over to my blog to see the exact supplies I used or just stop by to look around and say Hi!
Enjoy!
Colleen ~HappyLittleArt~