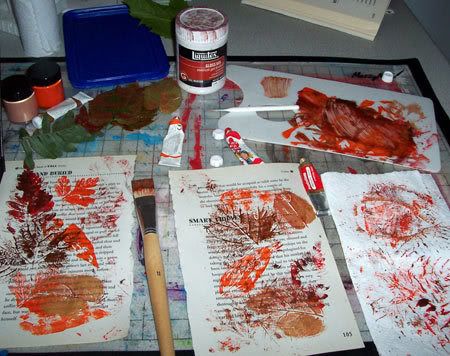
To mop up the extra paint, I tore a couple of pages from an old paperback and printed onto them too - more backgrounds!! I do try never to waste anything you see!

Instructions (or guides):
1. Gather a few leaves from your garden/ park, wherever. Try and use ones that have well-defined veins and interesting shapes. The thicker leaves are probably better to work with as the more delicate ones may tear when you apply paint to them.
2. Get the paints - I used acrylics - in the colours you'll be using, ready. I used orange, red, brown and gold. But any colours will do!
3. Get yourself a piece of strong kitchen roll and fold in half.
4. Apply paint to the underside of the leaf where the veins stick out more with a sponge, sponge brush, or a flat brush. You will soon know how much paint to apply by the print you get! Each leaf should be good for 2 prints before reapplying paint.
5. Take your leaf and lay it carefully onto the surface you want to print on, then cover with the paper towel/kitchen roll and press lightly as though you are stamping. I used the palm of my hand for larger leaves and my fingers for the small ones.
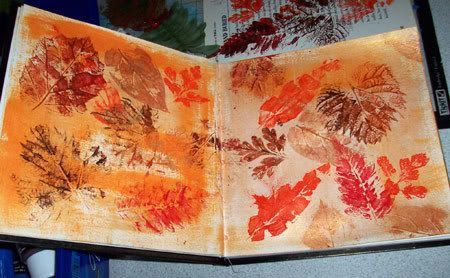
Here's my page as it turned out:

I also used gel medium to thin the paint a little as the thicker acrylics were hard work on the thinner leaves. It was a lot of fun and I feel an altered or leaf-printed T-shirt coming on!! I hope you try it yourself and enjoy doing this
A note from Julie
A great tutorial and a brilliant Technique Rosie Thank you
You can see more of Rosie's Fab creations on her BLOG

No comments:
Post a Comment