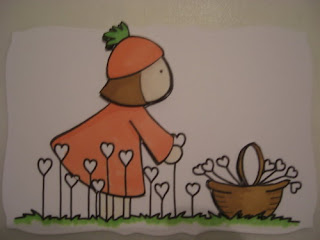
The image I have used is Whimsical Girl Heart Garden from Bee Crafty.
This is part 1 of a 2 part tutorial ( both parts can be done on their own though)
1. First I printed the image 4 times using Photo Printing Wizard onto good quality white cardstock ( about 250 gsm)
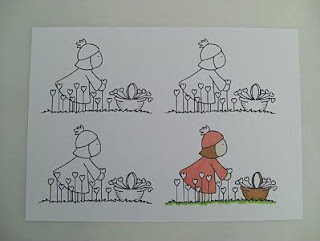
2. I then coloured one image with my Promarkers. My 2 main colours are Mango and Bright Green. This isn't necessary as this is the base image which will be layered but I think it gives a more professional look.
3. I then cut out the image, in this case using a Nestability die.
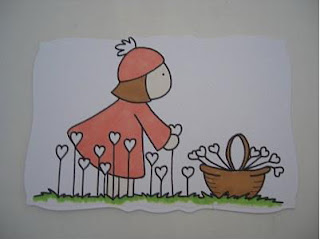
4. I have then coloured and cut out various parts of the image from the remaining 3 images.
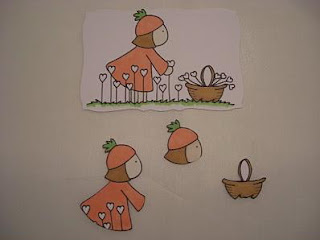
5. Here is a close up of the cut out images.
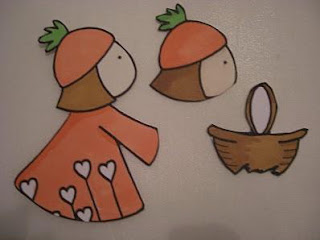
6. If you don't have many Promarkers and want to use shading on your images you can go over your colouring with the same colour to deepen it. In this case I have gone over the Mango with the same Mango pen on the left side of the image. I have done the same with the Bright Green. This will give the shaded effect
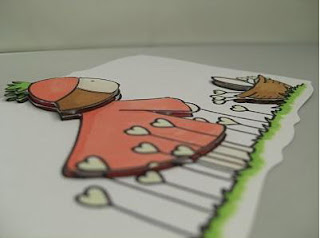
7. I have layered the pieces on top of each other with foam pads.
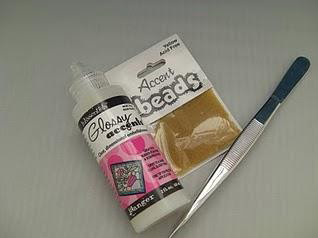
8. Next I have used Glossy accents over the heart shape flowers and sprinkled tiny yellow accent beads. The Glossy accents is clear and will act as a glue to hold the beads in place.
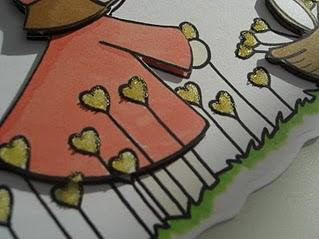
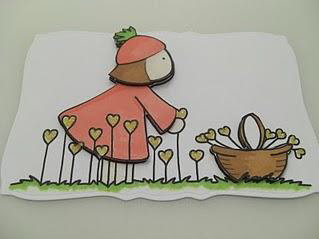
And there you have a decoupaged image made from a digital image.
I would love to read any comments you may have
Love Sarah XXX
you can see more of my work here sarahwrightdesigns.blogspot.com

That looks nice. I already knew that you can do that but until now I didn't do it.
ReplyDeleteGreetings Michelle
Love the image done here. TFS.
ReplyDeleteEveline.
What a terrific tutorial.
ReplyDeleteSuper tut Sarah, learnt about the accent beads, Id have never thought of doing that!
ReplyDeleteThanks for sharing!
Keryn x
A fantastic tutorial Sarah
ReplyDeleteThank you :)
thanks for your great tutorial!
ReplyDeletexxx Margreet