But I digress...the point I was trying to make was that I have always loved Patchwork - in clothing, in bags, in quilts, and NOW in my SCRAPBOOKING!
Step One:
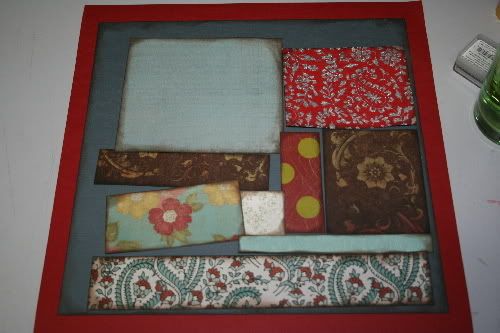
For this technique, you need a bunch of scraps and the base of your LO ready to go (see first pic). Each one of your scraps needs to be lined up on the page BEFORE we start to make sure it all fits - then you need to ink the outer edges of each scrap for effect.
Step Two:
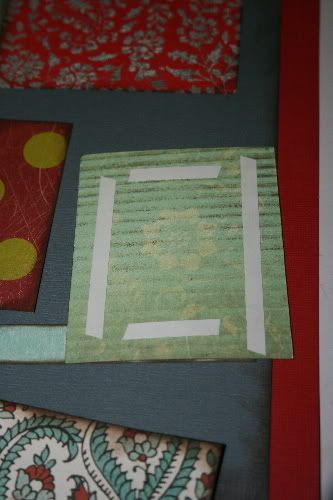
Once you have decided where you want everything to go and you have inked the edges, it's now time to actually stick them down BUT you have to make sure that your tape or glue is NOT too close to the edge - this is so that you can peel the edges up later.
Step Three:
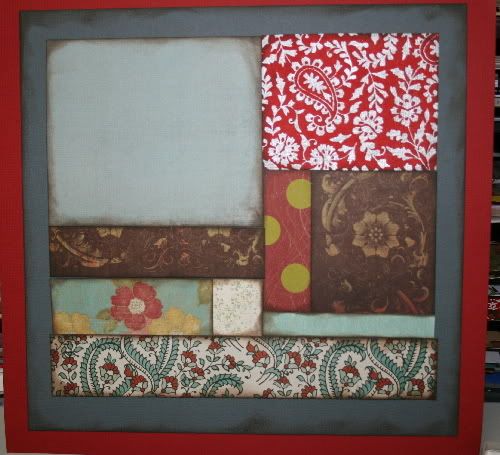
The pieces all stuck down should look like all the edges are all joined up - like this:
Step Four:
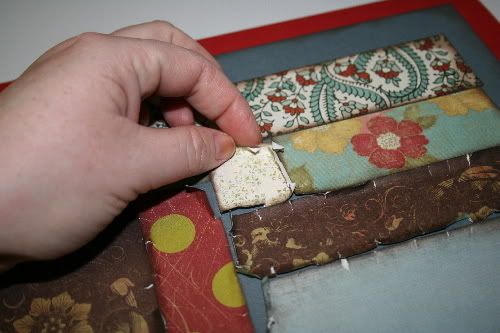
Now you need to go around the outside of each piece and list up about 0.5cm worth of the paper and curl over and tear the edges - really rough them up a bit.
Step Five:
Go around all the edges of the scraps of paper, making sure that you keep the ripping in UNEVEN spaces - the rougher it looks, the better the patchwork feel to it when finished.....It should look something like this....:
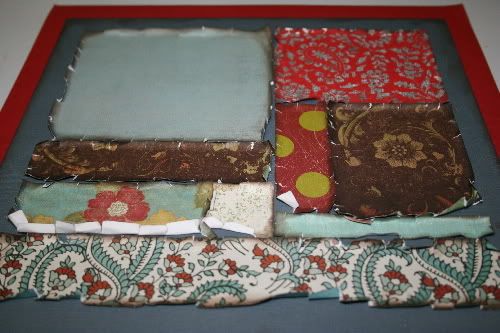
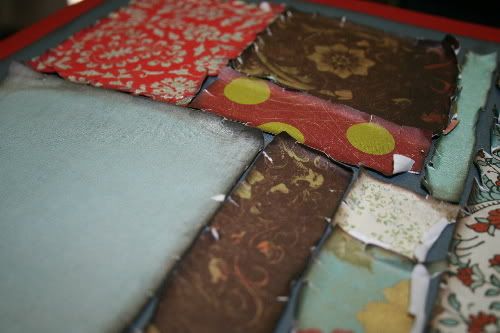
and here is my example:
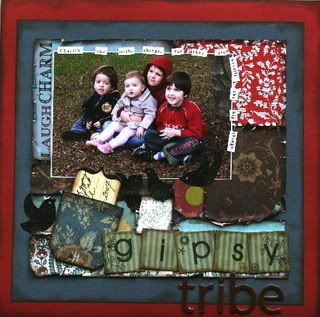
Have fun girls and PEACE, Baby! And please ignore the fact that I have spelled Gypsy incorrectly - bad day all round!
Sares xx
A note from Julie : Wow isn't this beautiful!! Check out Sarah's Blog HERE for more inspiration

Just love those layouts there...think they could be very inspirational for fabric layouts too. I never realised that scrap booking would give me so many ideas - keep up the good work there!
ReplyDeleteRichard