Hopefully you'll be able to follow this tut and will be adding watermarks to your photos easily afterwards.
I am using PSP 7 for this tut, although other PSP versions will do this too.
1. Open up a new image with a transparent background, mine measures 300 x 300 pixels.
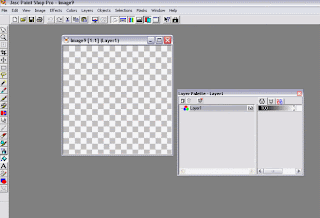
2. use the bucket fill tool to add a base colour (any darkish colour will do, this is purely to be able to see the actual watermark whilst working on your design)
or skip the above and open a new image with a darkish background (I always use a transparent image to start with so have transparent as default)
3. Add a new raster layer (Layers > New Raster Layer)
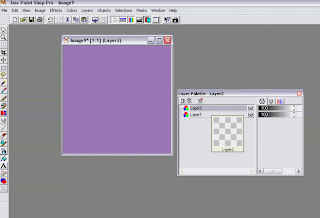
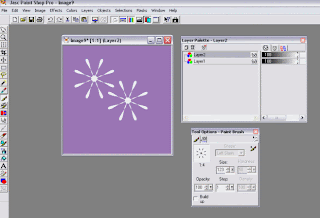
4. On Layer 2 (click on layer 2 on the layer palette to select) ... click the paint brush tool and select a background design from the list, I chose this skinny flower design and added 2 flowers
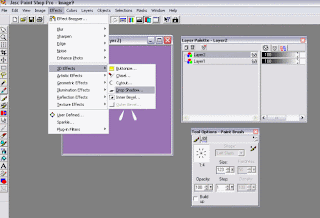
5. Add a drop shadow
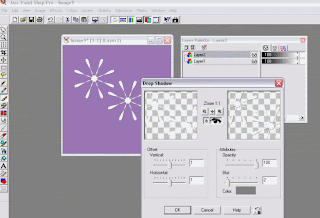
6. Make the opacity less by sliding down the slider in the layer palette on layer 2 only, I took mine down to 30%
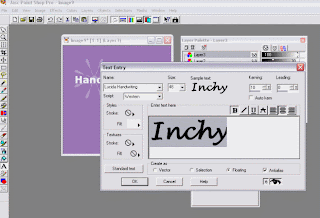
8. On Layer 3 ... click on the text tool and add your text in white, I chose verdana font and typed 'Handmade By'
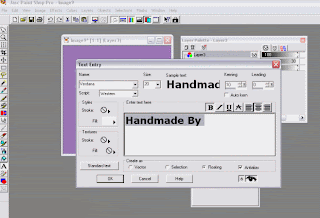
and on the same layer (layer 3) I added the word 'Inchy', but in a different font and bigger...
9. Take the opacity of layer 3 down to 60%
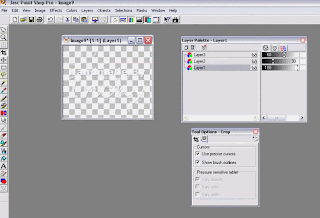
10. Crop around your watermark so that there isn't loads of space around it
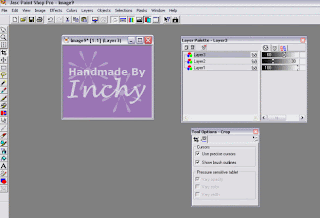
11. Now we'll get rid of the background colour, click on Layer 1 in the layer palette and then hit the delete button on your keyboard, the background should now have gone and you will have a transparent background again
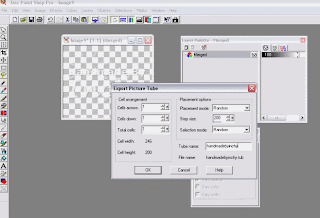
13. Make your watermark into a picture tube... (File > Export > Picture Tube)
14. Give your watermark a name
That's it, you've done it! YAY!
Your watermark is ready to use and is available to add to your photos
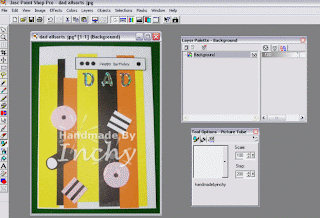
See how it is slightly see-through?
also, you can alter the size of your watermark by sliding the percentage scale so that you can fit your watermark onto a large layout or a tiny inchy ;)
Happy PSP'ing !!!
Jo xx
A note from Julie :~ Thanks so much for a great tutorial Jo :)
Check out Jo's Siggi Shop blog
She is a whizz with Paint Shop Pro and has made beautiful blog headers including the Inspirational headers!!
Her rates are very affordable too and she has the patience of a saint and is a really lovely lady to deal with :)
Her rates are very affordable too and she has the patience of a saint and is a really lovely lady to deal with :)





Thank you for allowing me to share this tutorial Julie, and thank you for the lovely appraisal, very much appreciated my friend! xx
ReplyDeletevery helpfull...I was wondering how to do this, now I know.
ReplyDeleteThanks.
I've struggled to do this for ages and have never found a clearer tutorial anywhere else. Thank you so much. I've still wee bits to perfect but at least I have made one from beginning to end and that's a first. :)
ReplyDelete